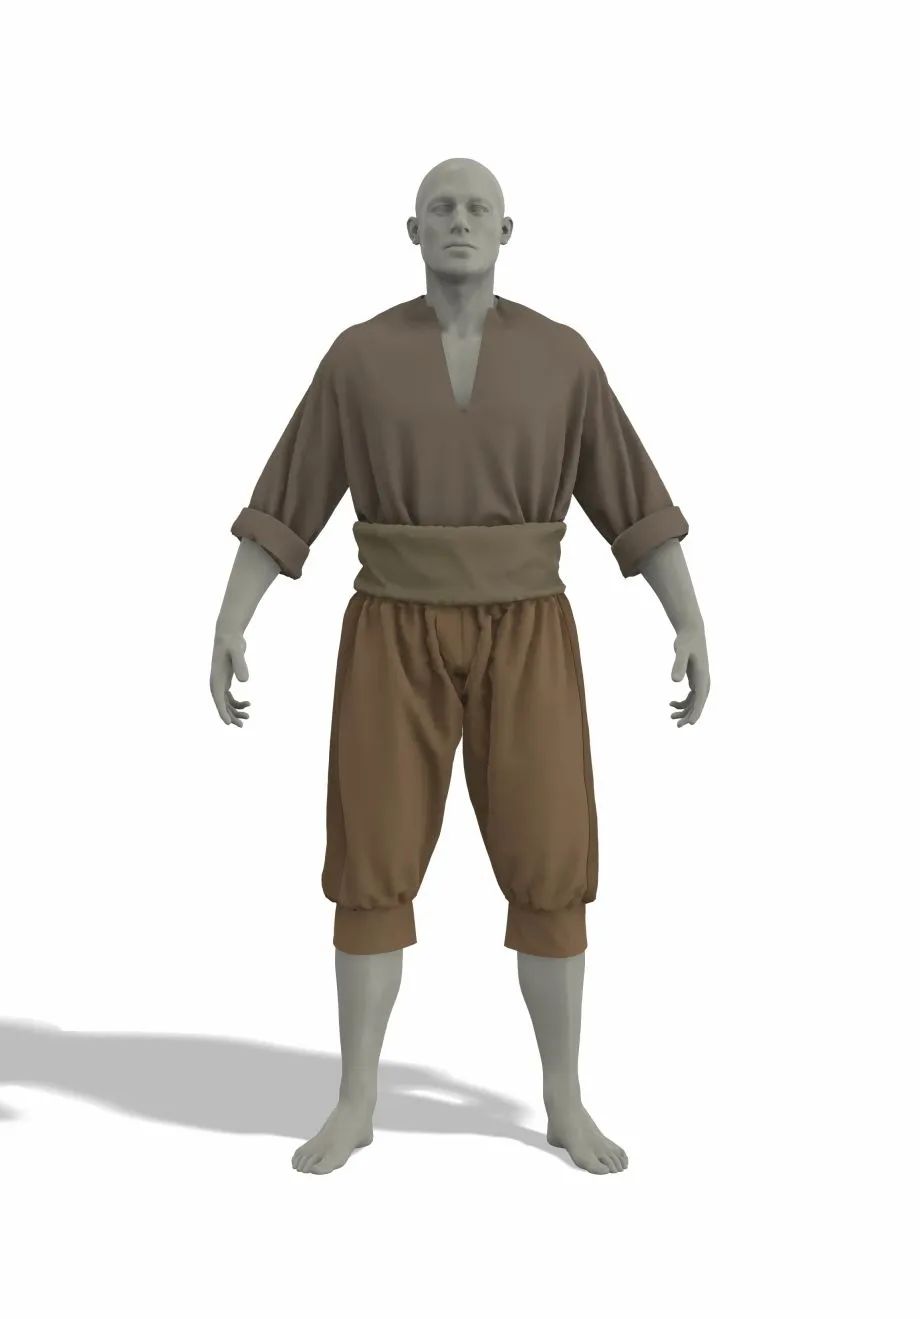
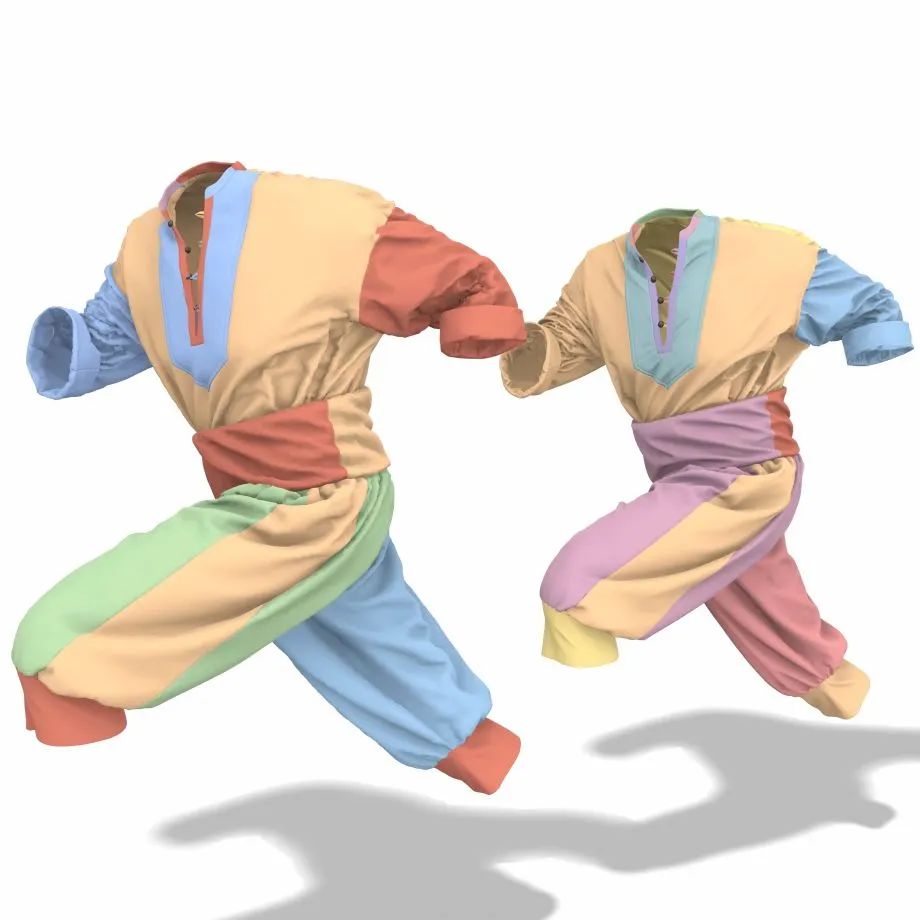
虽然临近过年,但是咱们的干货可不能停!Marvelous Designer 中创建动画服装模拟项目的工作流程,还介绍了衣服是如何纹理化以及创建动画的过程,这些可都是妥妥的知识要点!
在分享项目流程之前呢,咱们依旧先了解一下大神。
作者介绍
参加过那么多项目,其中作者认为最重要的一点就是“设计”,毕竟“草图设计”是创建任何作品基础的部分。所以在一个作品开始之前,作者更愿意花费时间投入在设计之中,来确保后续不会在比例、轮廓、合身、底层结构、接缝等方面犯任何基本错误。
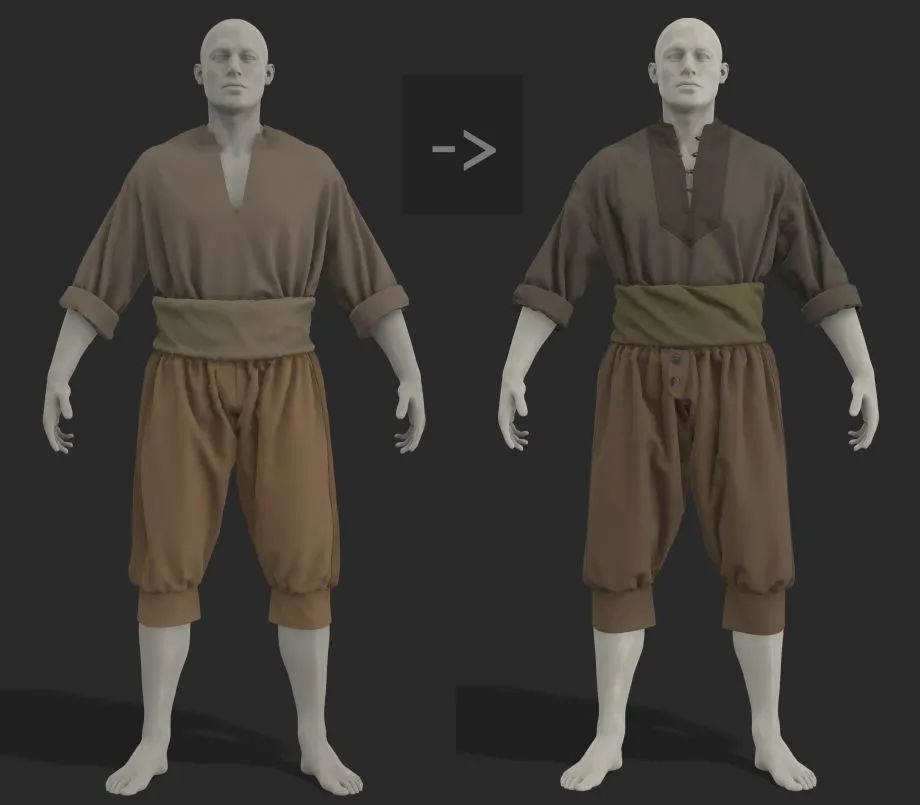
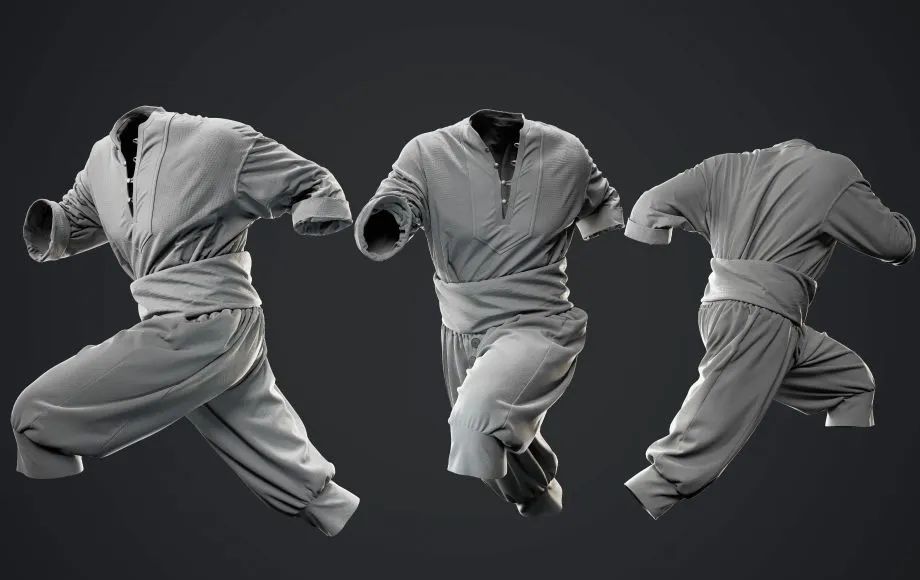
添加细节
Mixamo中的动画
Video Player is loading.
Play Video Play Current Time 0:00
Duration -:-
Seek to live, currently behind live LIVE Remaining Time - -:-
Picture-in-Picture Fullscreen This is a modal window.
The media could not be loaded, either because the server or network failed or because the format is not supported.
Beginning of dialog window. Escape will cancel and close the window.
Text Color White Black Red Green Blue Yellow Magenta Cyan Transparency Opaque Semi-Transparent Background Color Black White Red Green Blue Yellow Magenta Cyan Transparency Opaque Semi-Transparent Transparent Window Color Black White Red Green Blue Yellow Magenta Cyan Transparency Transparent Semi-Transparent Opaque
Font Size 50% 75% 100% 125% 150% 175% 200% 300% 400% Text Edge Style None Raised Depressed Uniform Dropshadow Font Family Proportional Sans-Serif Monospace Sans-Serif Proportional Serif Monospace Serif Casual Script Small Caps Reset restore all settings to the default values Done
Close Modal Dialog End of dialog window.
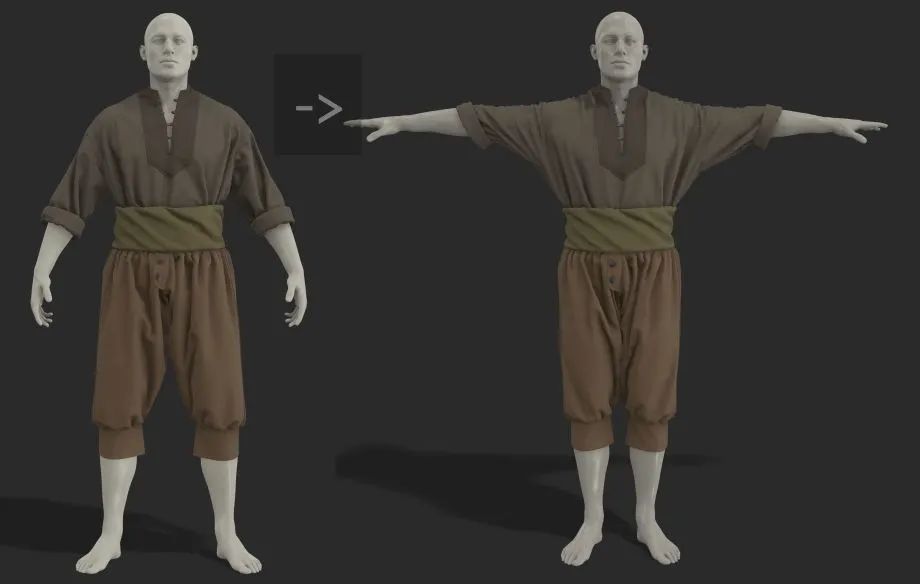
A-Pose到T-Pose
Video Player is loading.
Play Video Play Current Time 0:00
Duration -:-
Seek to live, currently behind live LIVE Remaining Time - -:-
Picture-in-Picture Fullscreen This is a modal window.
The media could not be loaded, either because the server or network failed or because the format is not supported.
Beginning of dialog window. Escape will cancel and close the window.
Text Color White Black Red Green Blue Yellow Magenta Cyan Transparency Opaque Semi-Transparent Background Color Black White Red Green Blue Yellow Magenta Cyan Transparency Opaque Semi-Transparent Transparent Window Color Black White Red Green Blue Yellow Magenta Cyan Transparency Transparent Semi-Transparent Opaque
Font Size 50% 75% 100% 125% 150% 175% 200% 300% 400% Text Edge Style None Raised Depressed Uniform Dropshadow Font Family Proportional Sans-Serif Monospace Sans-Serif Proportional Serif Monospace Serif Casual Script Small Caps Reset restore all settings to the default values Done
Close Modal Dialog End of dialog window.
修复动画
Video Player is loading.
Play Video Play Current Time 0:00
Duration -:-
Seek to live, currently behind live LIVE Remaining Time - -:-
Picture-in-Picture Fullscreen This is a modal window.
The media could not be loaded, either because the server or network failed or because the format is not supported.
Beginning of dialog window. Escape will cancel and close the window.
Text Color White Black Red Green Blue Yellow Magenta Cyan Transparency Opaque Semi-Transparent Background Color Black White Red Green Blue Yellow Magenta Cyan Transparency Opaque Semi-Transparent Transparent Window Color Black White Red Green Blue Yellow Magenta Cyan Transparency Transparent Semi-Transparent Opaque
Font Size 50% 75% 100% 125% 150% 175% 200% 300% 400% Text Edge Style None Raised Depressed Uniform Dropshadow Font Family Proportional Sans-Serif Monospace Sans-Serif Proportional Serif Monospace Serif Casual Script Small Caps Reset restore all settings to the default values Done
Close Modal Dialog End of dialog window.
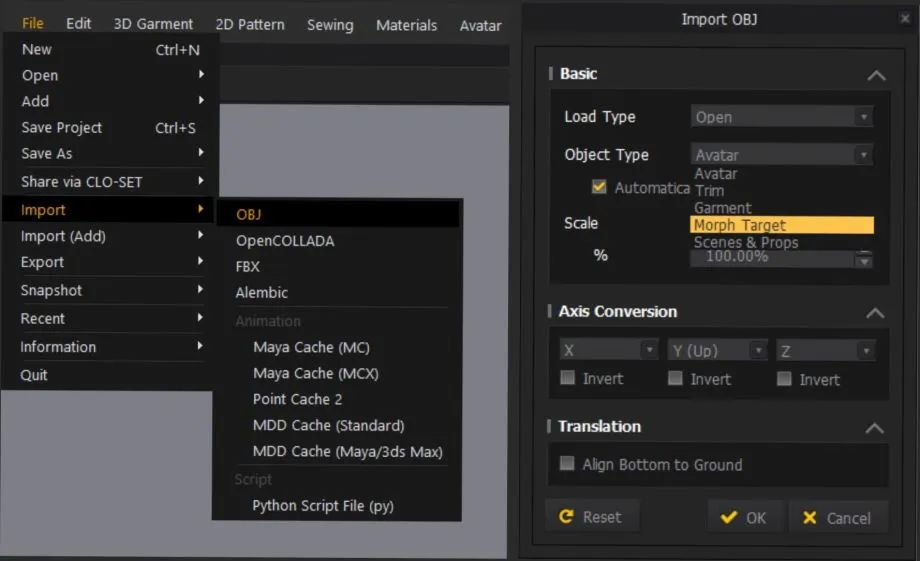
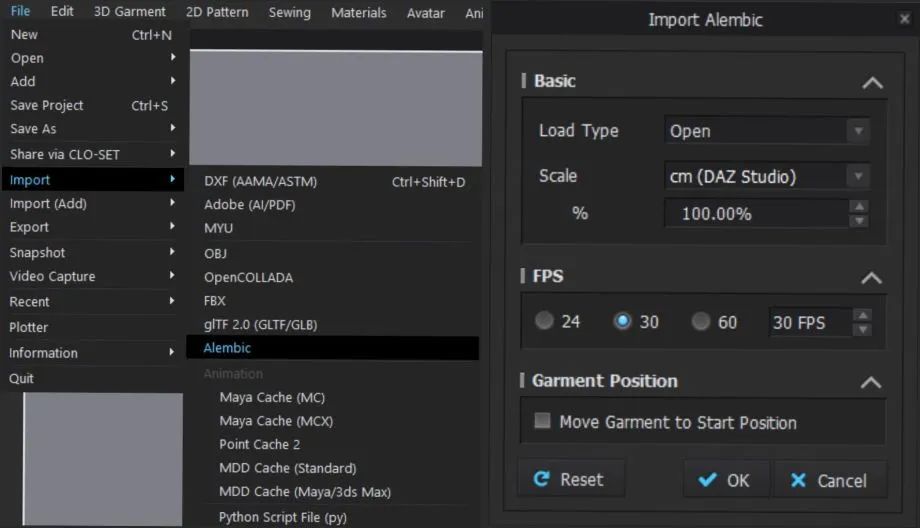
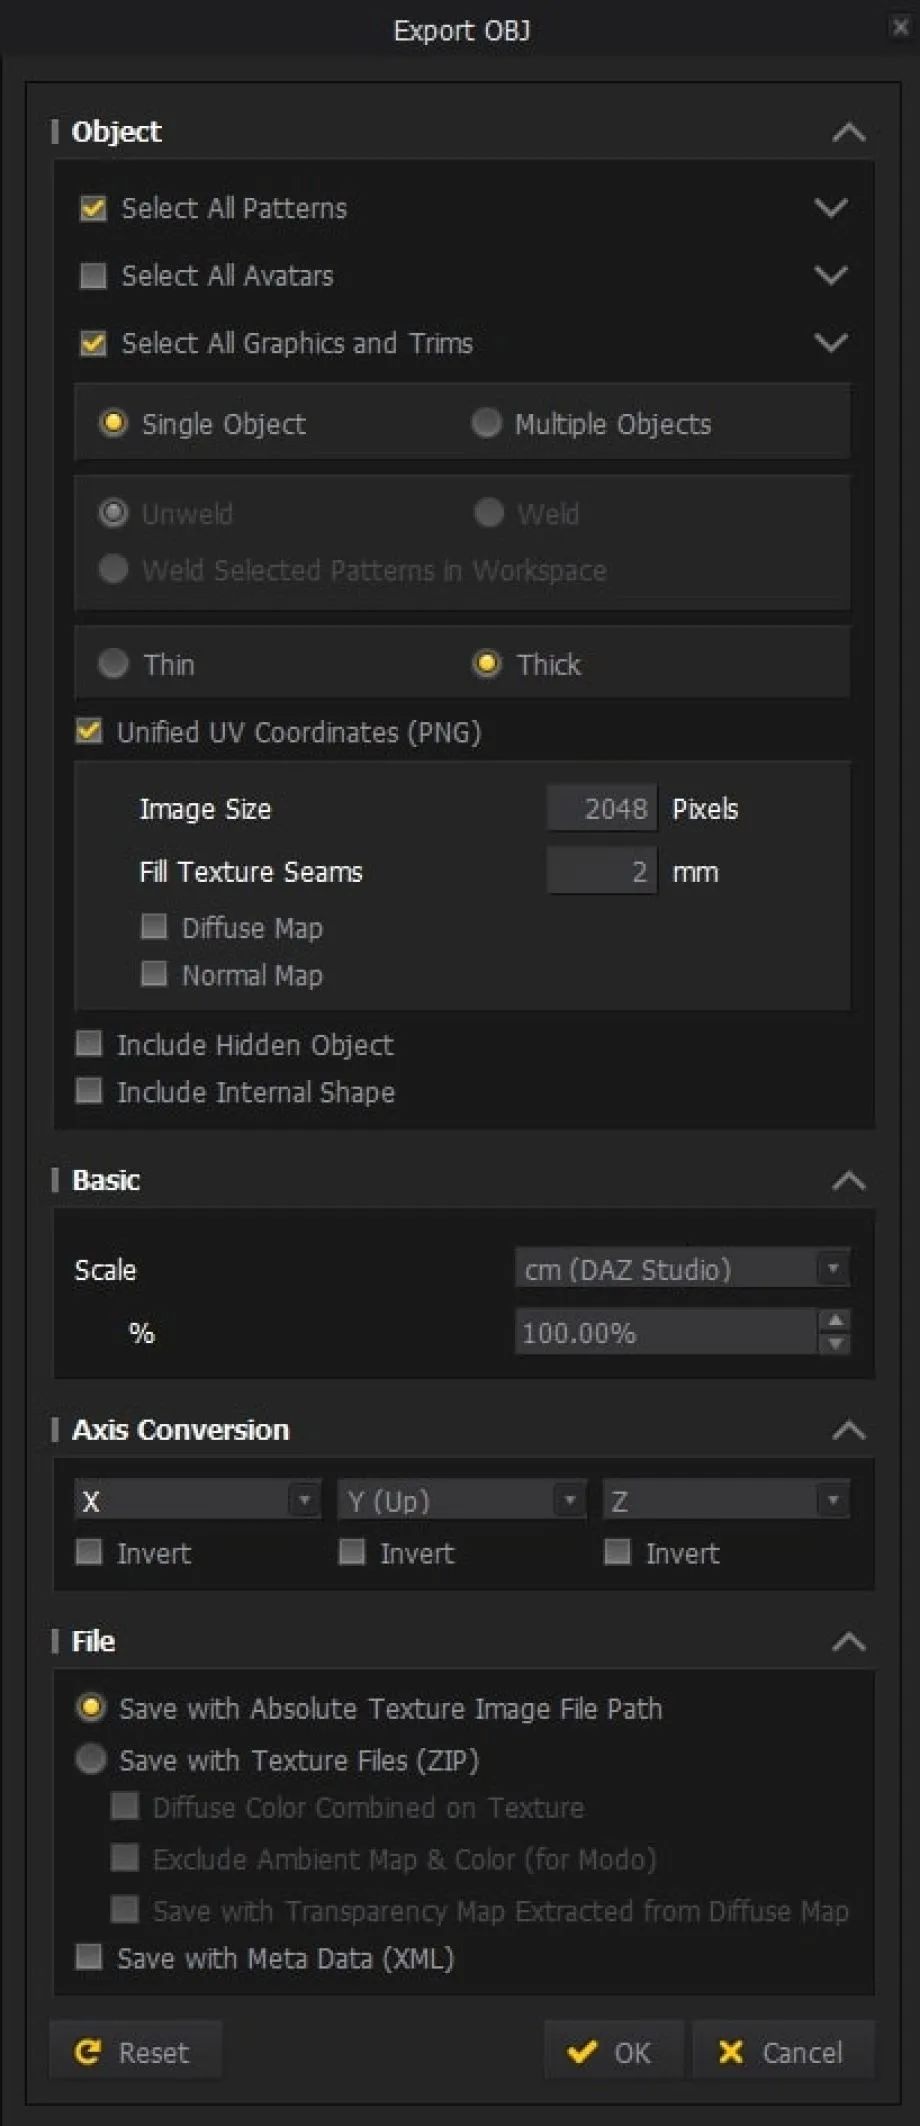
在修复动画后,作者从Blender中导出了alembic格式的文件。
Video Player is loading.
Play Video Play Current Time 0:00
Duration 0:00
Seek to live, currently behind live LIVE Remaining Time - 0:00
Picture-in-Picture Fullscreen Beginning of dialog window. Escape will cancel and close the window.
Text Color White Black Red Green Blue Yellow Magenta Cyan Transparency Opaque Semi-Transparent Background Color Black White Red Green Blue Yellow Magenta Cyan Transparency Opaque Semi-Transparent Transparent Window Color Black White Red Green Blue Yellow Magenta Cyan Transparency Transparent Semi-Transparent Opaque
Font Size 50% 75% 100% 125% 150% 175% 200% 300% 400% Text Edge Style None Raised Depressed Uniform Dropshadow Font Family Proportional Sans-Serif Monospace Sans-Serif Proportional Serif Monospace Serif Casual Script Small Caps Reset restore all settings to the default values Done
Close Modal Dialog End of dialog window.
Blender中导出了alembic格式的文件
Video Player is loading.
Play Video Play Current Time 0:00
Duration 0:00
Seek to live, currently behind live LIVE Remaining Time - 0:00
Picture-in-Picture Fullscreen Beginning of dialog window. Escape will cancel and close the window.
Text Color White Black Red Green Blue Yellow Magenta Cyan Transparency Opaque Semi-Transparent Background Color Black White Red Green Blue Yellow Magenta Cyan Transparency Opaque Semi-Transparent Transparent Window Color Black White Red Green Blue Yellow Magenta Cyan Transparency Transparent Semi-Transparent Opaque
Font Size 50% 75% 100% 125% 150% 175% 200% 300% 400% Text Edge Style None Raised Depressed Uniform Dropshadow Font Family Proportional Sans-Serif Monospace Sans-Serif Proportional Serif Monospace Serif Casual Script Small Caps Reset restore all settings to the default values Done
Close Modal Dialog End of dialog window.
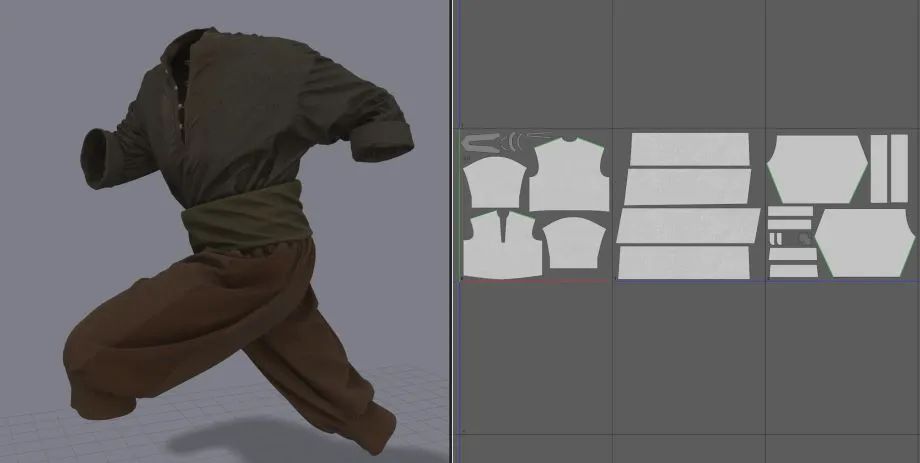
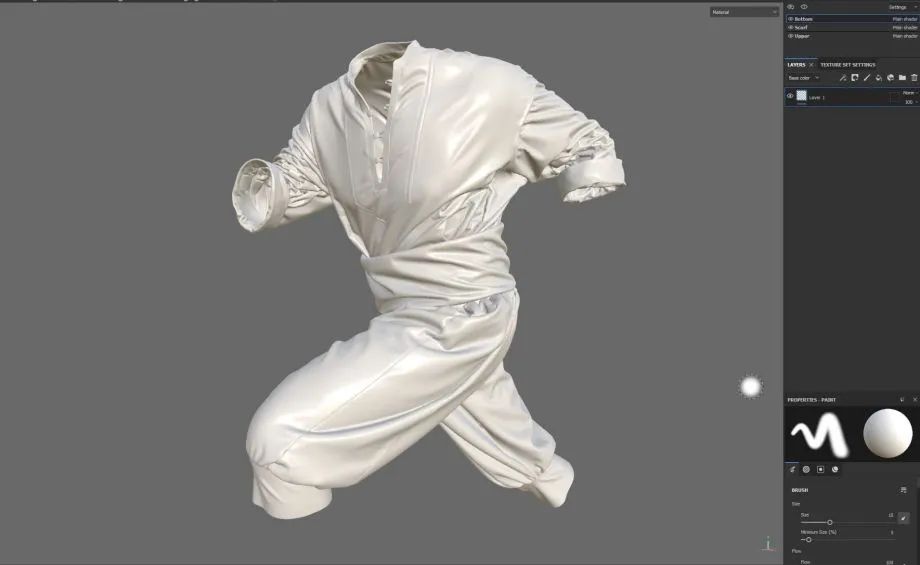
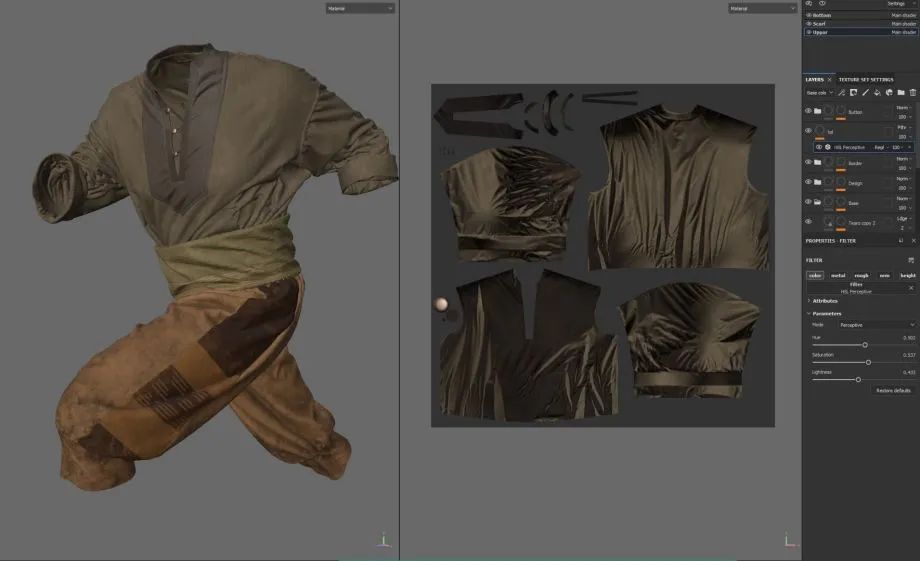
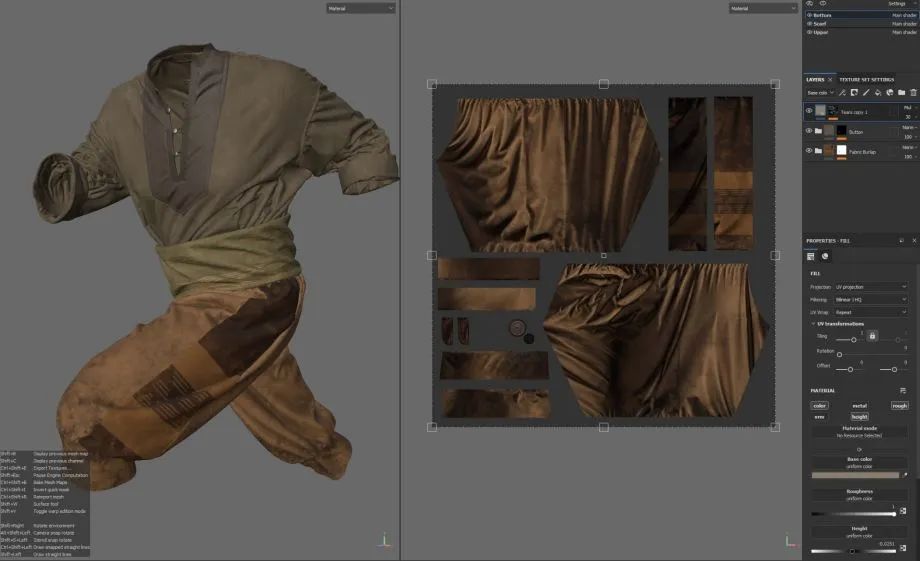
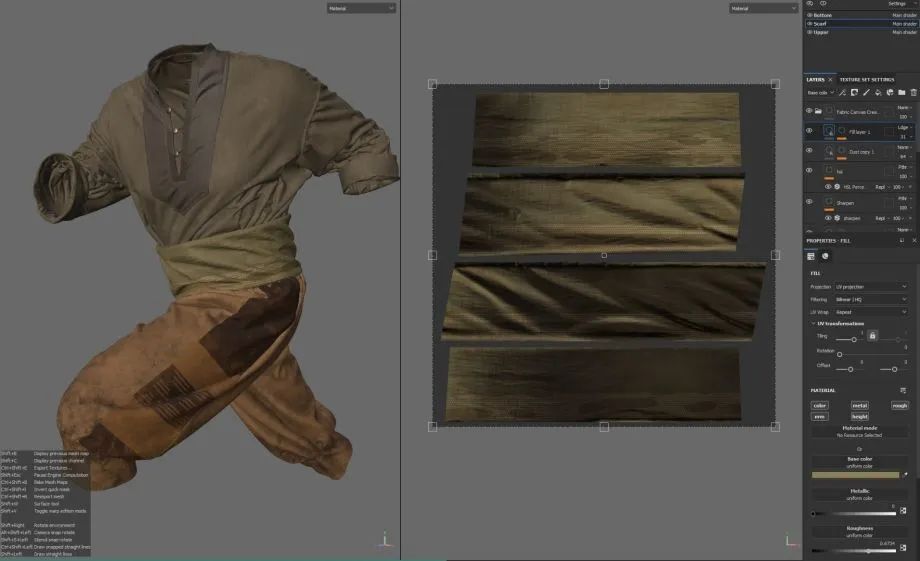
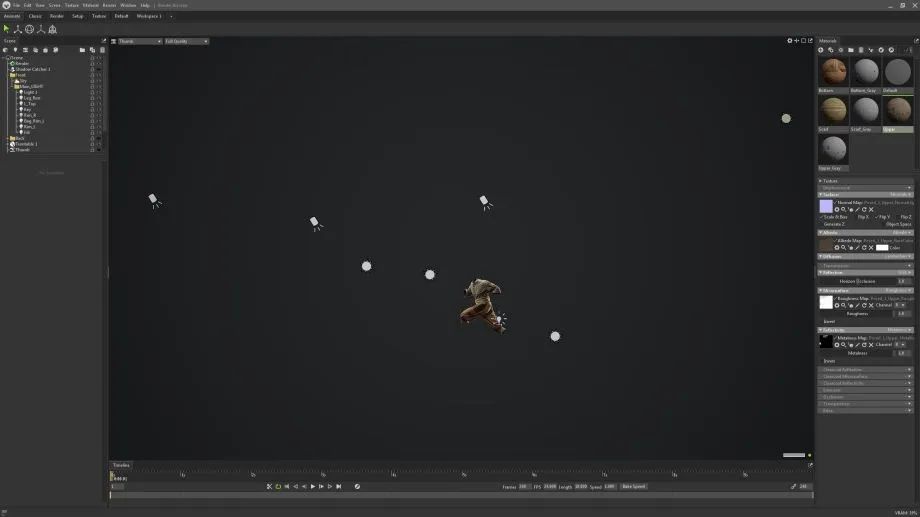
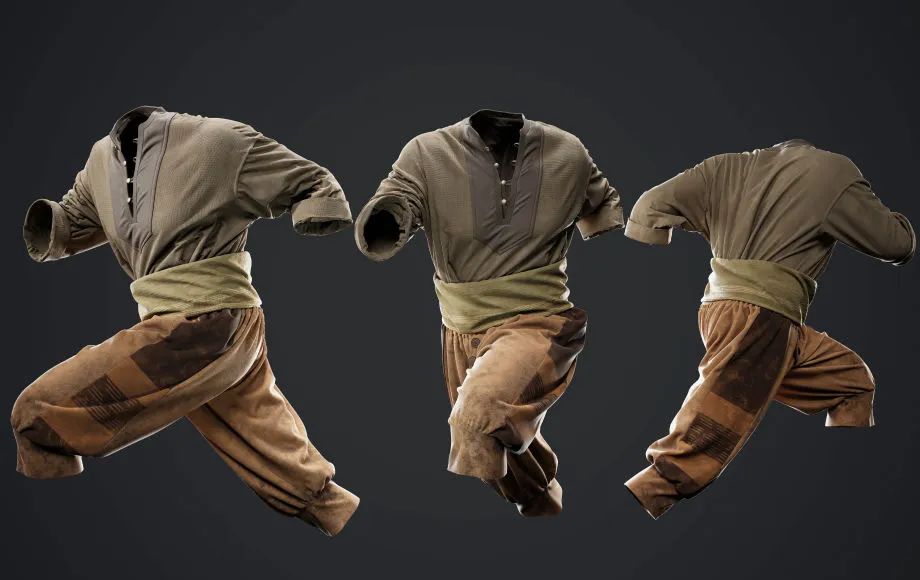
纹理
Video Player is loading.
Play Video Play Current Time 0:00
Duration 0:00
Seek to live, currently behind live LIVE Remaining Time - 0:00
Picture-in-Picture Fullscreen Beginning of dialog window. Escape will cancel and close the window.
Text Color White Black Red Green Blue Yellow Magenta Cyan Transparency Opaque Semi-Transparent Background Color Black White Red Green Blue Yellow Magenta Cyan Transparency Opaque Semi-Transparent Transparent Window Color Black White Red Green Blue Yellow Magenta Cyan Transparency Transparent Semi-Transparent Opaque
Font Size 50% 75% 100% 125% 150% 175% 200% 300% 400% Text Edge Style None Raised Depressed Uniform Dropshadow Font Family Proportional Sans-Serif Monospace Sans-Serif Proportional Serif Monospace Serif Casual Script Small Caps Reset restore all settings to the default values Done
Close Modal Dialog End of dialog window.
渲染
今天分享的呢相当于一个大神探索Marvelous Designer的动画实验,不知道有没有启发到大家呢!不过平时练习得越多,技能就会越熟练,所以一定要多看多练才可以哦!
声明: 本站提供的⼀切软件、教程和内容信息仅限⽤于
学习和研究,不得将上述内容⽤于商业或者⾮法⽤途,否则⼀切后果请⽤户⾃⾏承
担。本站信息收集整理来⾃⽹络,版权争议与本站⽆关。我们⾮常重视版权问题,
如有侵权请尽快与我们联系。不便之处,敬请谅解!


评论(0)